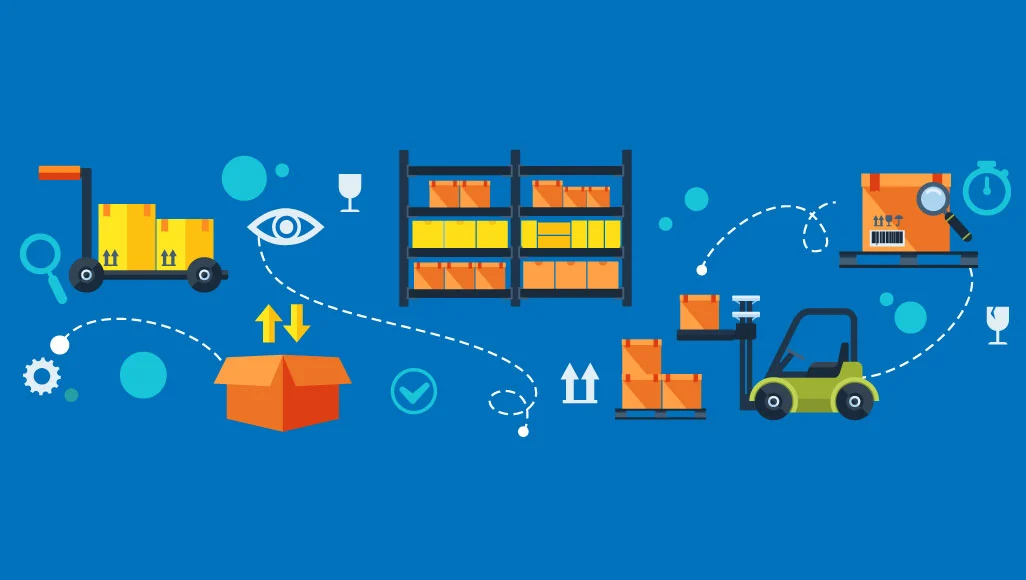
Salesforce provides powerful tools for inventory management, seamlessly integrating with its Service Cloud for field service, Commerce Cloud for e-commerce, and core CRM capabilities. Salesforce Inventory allows businesses to track stock levels, automate processes, and gain real-time visibility into inventory data alongside customer records.
Whether you’re managing warehouse stock, field service parts, or retail products, Salesforce Inventory can streamline operations, reduce manual errors, and replace inefficient spreadsheets.
This guide is designed for beginners with basic Salesforce admin access. It walks through the setup process with clear steps, practical advice, and best practices to ensure a smooth implementation. Advanced features may require specific licenses like Service Cloud or Commerce Cloud, but we’ll focus on foundational setup adaptable to various use cases.
Prerequisites for Inventory Management Setup
Before starting, ensure you have the necessary components in place to avoid roadblocks.
Salesforce Edition and Permissions
You’ll need a Salesforce edition that supports inventory features, such as Essentials, Professional, Enterprise, or Unlimited. For advanced capabilities like field service inventory, Service Cloud or Commerce Cloud add-ons may be required. Ensure you have System Administrator permissions or equivalent to configure objects and settings.
If you’re new to Salesforce, completing the Trailhead module “Salesforce Platform Basics” will provide a solid foundation.
Data Preparation
Clean and organized product data is critical. Prepare a dataset with product details like SKUs, descriptions, and prices, ideally in a CSV format for easy import via Salesforce Data Loader. If integrating with external tools, such as barcode scanners or third-party apps, confirm compatibility and API access.
Setting Up Inventory Management
This section outlines the step-by-step process to configure inventory management in Salesforce, focusing on core functionality that can be adapted for field service or commerce scenarios.
Enabling Inventory Features
Begin by activating the necessary inventory tools in Salesforce. Log in to Setup (gear icon > Setup) and use the Quick Find box to locate “Field Service Settings” for service-related inventory or “Inventory” for general use. Enable Field Service if managing parts for technicians or navigate to Products > Settings to activate inventory tracking.
For e-commerce, go to Commerce > Inventory in Setup and enable omnichannel inventory. This step unlocks key objects like Product Items, Inventory Locations, and Product Item Transactions.
Configuring Inventory Locations
Inventory locations represent physical or virtual sites where stock is stored, such as warehouses, retail stores, or service trucks. In Setup, search for “Inventory Locations” and create a new location, specifying its name, address, and type (e.g., Warehouse or Store).
For businesses with multiple sites, establish a hierarchy by assigning locations to a parent (e.g., a regional hub). Start with a manageable number of locations—five to ten—to maintain simplicity during initial setup.
Defining Products and Product Items
Products represent the items you sell or use, while Product Items track specific units or quantities. Navigate to the Products tab (or App Launcher > Products) to create or import products. For each product, enter details like Name, SKU, Description, and Price, and enable the “Inventory Enabled” option.
Next, create Product Items from the Product’s related list, specifying details like serial numbers (for serialized inventory), installation status, and assigned location. Set initial stock quantities here. For large catalogs, use Data Loader to import product data efficiently.
Managing Inventory Transactions
Inventory transactions track stock movements, such as receipts, issues, transfers, or adjustments. In Setup, search for “Product Item Transactions” and enable relevant transaction types. To record a transaction, go to App Launcher > Product Item Transactions > New, then select the type (e.g., Receipt), associated Product Item, quantity, and location.
Saving the transaction updates stock levels automatically. For sales integration, link transactions to Sales Orders to deduct stock upon order fulfillment.
Integrating with Salesforce Features
To maximize value, connect inventory management with other Salesforce tools. In Orders > Settings, enable inventory reservation to hold stock when orders are created. For field service, assign parts to Work Orders via Setup > Field Service > Inventory, and leverage the Salesforce mobile app for on-site scanning.
Create custom reports in Reports > New Report > Inventory to monitor metrics like stock on hand or turnover rates. For automation, use Salesforce Flows to trigger alerts, such as notifications for low stock levels (e.g., when quantity falls below 10 units). In Commerce Cloud, enable omnichannel inventory to sync stock across online and physical stores.
Testing and Launching the System
Before going live, test the setup thoroughly. Simulate real-world scenarios, such as creating a test order, issuing stock, and verifying inventory updates. Train users on key tasks, like updating stock or generating reports, to ensure adoption. After launch, monitor performance using dashboards to track KPIs like inventory accuracy, aiming for 95% or higher.
Best Practices for Effective Inventory Management
Adopting best practices early ensures a scalable and efficient system.
Start Simple and Scale Gradually
Complex setups can overwhelm beginners. Begin with a small scope—one or two locations and a limited product catalog (e.g., 50 items). As you gain confidence, expand to additional locations or advanced features like multi-warehouse tracking.
Automate Processes
Automation reduces manual errors and supports real-time updates. Integrate barcode scanners via the Salesforce mobile app or third-party tools for quick stock updates. Use Flows to automate repetitive tasks, like reordering stock when levels are low.
Integrate with CRM Data
Linking inventory to customer data enhances forecasting and personalization. Sync stock levels with Accounts or Opportunities to inform sales teams about product availability, enabling targeted upselling or cross-selling.
Conduct Regular Audits
Periodic inventory checks maintain accuracy. Schedule monthly cycle counts and use Flows to streamline the process. Regular audits prevent discrepancies that could disrupt operations.
Leverage AI for Insights
Salesforce’s Einstein Analytics can predict demand and optimize stock levels. Even beginners can explore pre-built dashboards to identify trends, such as seasonal fluctuations, and adjust inventory accordingly.
Common Challenges and How to Avoid Them
Beginners often face hurdles like incorrect permissions, where users can’t update stock due to restricted access. Double-check user profiles and permission sets during setup. Another pitfall is neglecting mobile access, especially for field service teams. Ensure the Salesforce mobile app is configured for inventory tasks. Overcomplicating the initial setup with too many locations or custom fields can also lead to confusion—keep it lean until the basics are mastered.
Advanced Features and Next Steps
Once the core system is running smoothly, explore advanced capabilities. For e-commerce, implement Buy Online, Pick Up In Store (BOPIS) through Commerce Cloud’s omnichannel features. For complex needs, browse AppExchange for add-ons like “Advanced Inventory” to support multi-warehouse scenarios.
Build custom dashboards to visualize trends, such as stock turnover or seasonal demand spikes. For in-depth learning, explore Salesforce Trailhead’s “Inventory Management” trail or consult official documentation. If your business scales significantly, consider partnering with a Salesforce consultant for tailored solutions.
Conclusion
Setting up Salesforce Inventory management empowers businesses to streamline operations, improve accuracy, and integrate stock data with customer insights. By following this guide, beginners can establish a functional system with room to grow. Expect efficiency gains of 20-30% through automation and real-time visibility.
For specific use cases, such as retail versus manufacturing, share additional details for customized guidance. Start small, test thoroughly, and leverage Salesforce’s ecosystem to transform your inventory processes.